
Struggling to collect information, create a survey, or build a quick quiz? This guide will show you exactly how to create a google form from start to finish. We’ll turn you from a complete beginner into a confident pro, ready to build powerful, custom forms for any purpose.
- How to Create a Google Form
- Step 1: Accessing and Creating Your First Google Form
- Step 2: Building Your Form – Adding and Editing Questions
- Step 3: Organizing Your Form with Sections and Logic
- Step 4: Customizing the Design and Appearance
- Step 5: Configuring Your Form’s Settings
- Step 6: Sharing and Distributing Your Google Form
- Step 7: Viewing and Analyzing Your Responses
- Advanced Tips and Tricks for Google Forms
- Frequently Asked Questions
- Conclusion
How to Create a Google Form
Step 1: Accessing and Creating Your First Google Form
First things first, you need to know where to begin. Google provides a couple of easy starting points.
Starting from the Google Forms Homepage
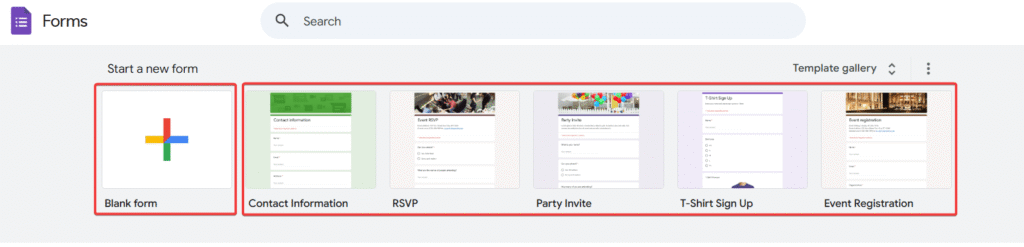
The most direct way is to navigate to forms.google.com. Here, you can immediately start a new form.
- To start fresh, click on the Blank form with the large plus sign.
- Alternatively, you can choose a pre-made design from the Template gallery, which offers options for event registrations, contact forms, and more.
Starting from Google Drive
You can also create a form directly from your Google Drive, which is a great way to keep your projects organized.
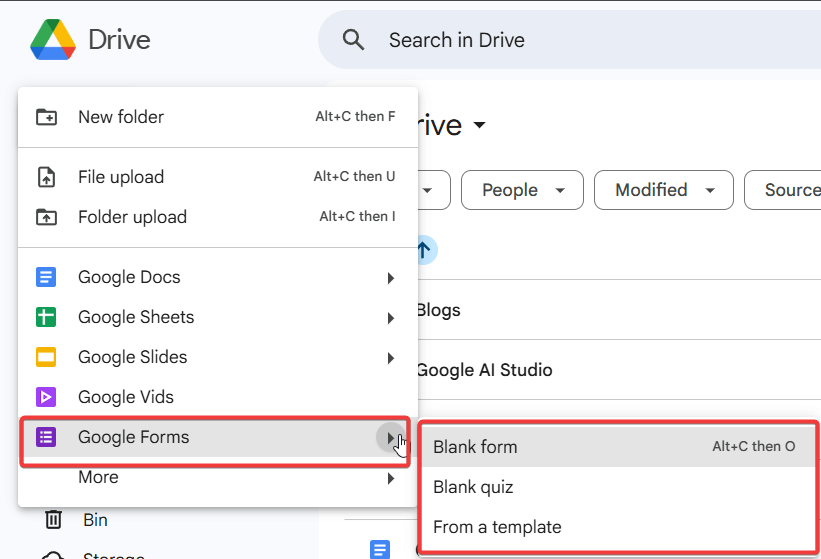
- Go to drive.google.com.
- Click the + New button in the top-left corner.
- Hover over Google Forms and click to create a new blank form.
Step 2: Building Your Form – Adding and Editing Questions
This is where your form takes shape. The interface is intuitive, allowing you to build your questionnaire with ease.
Understanding the Question Interface
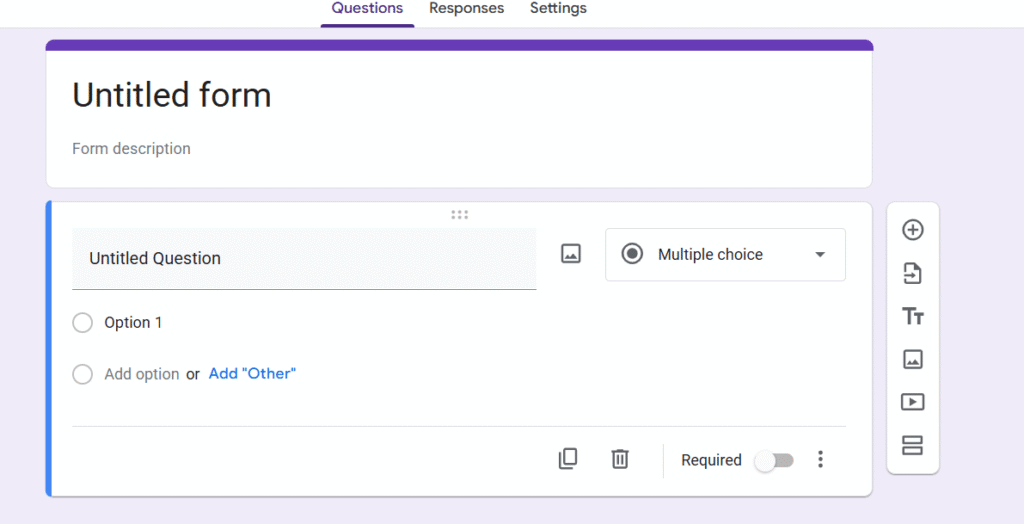
When you add a question, you’ll see a box with several options. You can type your question, select the answer format from a dropdown menu, and use the toolbar on the right to add more elements.
Common Question Types Explained
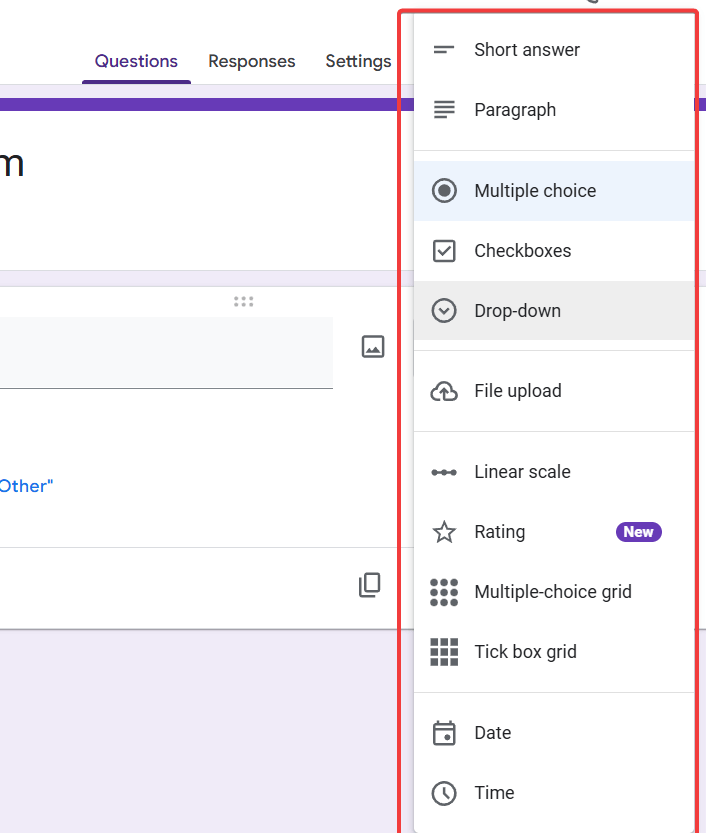
A common question people ask is, “What kind of questions can I add to my form?” Google Forms offers a wide variety:
- Short answer: For brief text responses like names or email addresses.
- Paragraph: For longer, more detailed text answers.
- Multiple choice: Allows users to select one option from a list.
- Checkboxes: Lets users select multiple options from a list.
- Dropdown: A compact way to offer a list of single-choice options.
- File upload: Allows respondents to upload files directly.
Add New Questions
To add a new question, simply click the plus icon (+) in the floating toolbar.
Making Questions Required
To ensure you get the information you need, you can make a question mandatory. Simply toggle the Required switch at the bottom of the question box.

Step 3: Organizing Your Form with Sections and Logic
For longer surveys or quizzes, breaking your form into sections is essential. This prevents users from feeling overwhelmed.
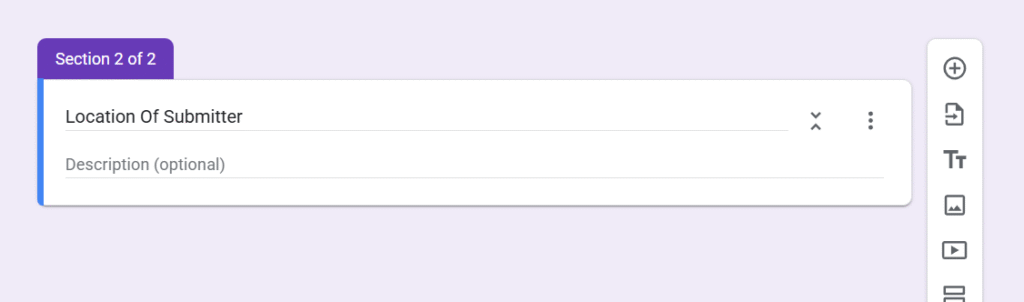
How to Add and Name Sections
- Click the “Add section” icon (it looks like two rectangles) in the floating toolbar.
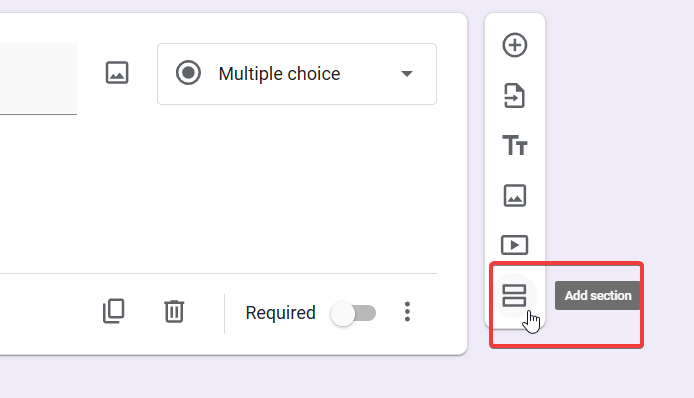
- This will split your form into a new page. You can then give your section a title and an optional description.
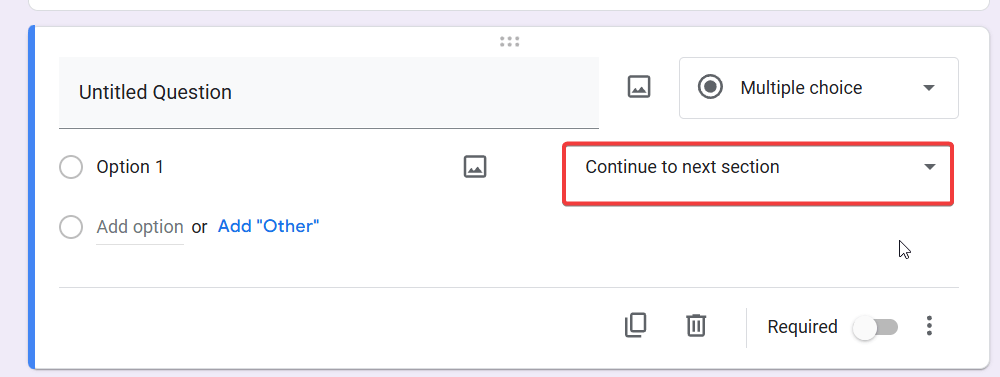
Using Conditional Logic
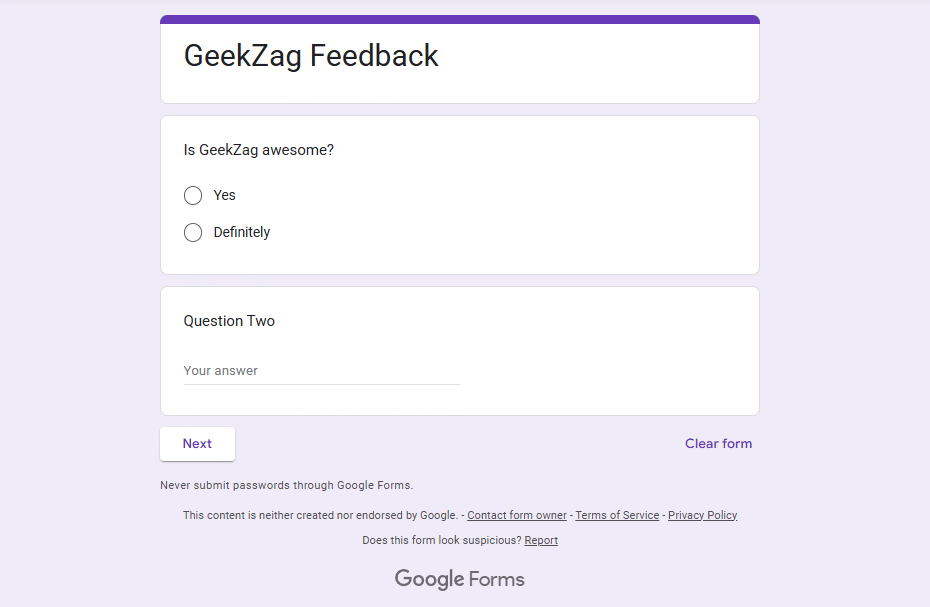
A powerful feature is the ability to send users to a specific section based on their answer. For example, if a user answers “Yes” to a question, you can send them to a section with follow-up questions.
- Click the three dots in the bottom-right of a multiple-choice question.
- Select “Go to section based on answer.”
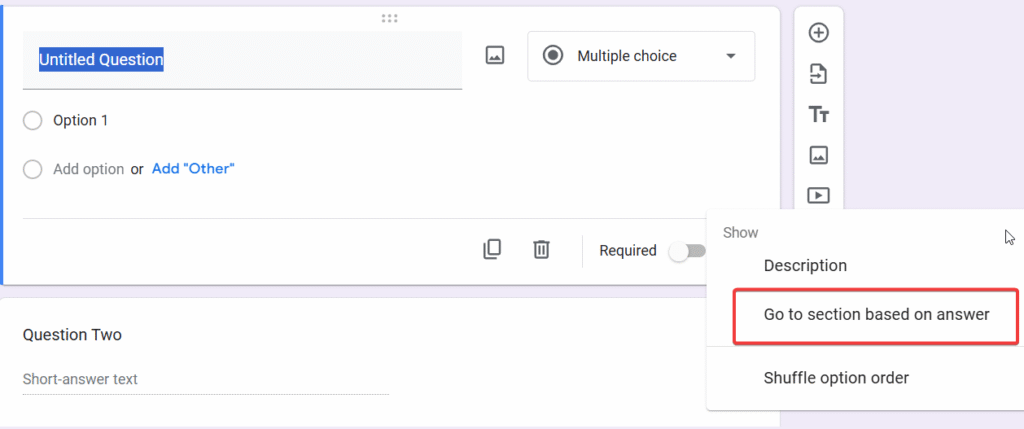
- You can now assign a destination section for each answer.
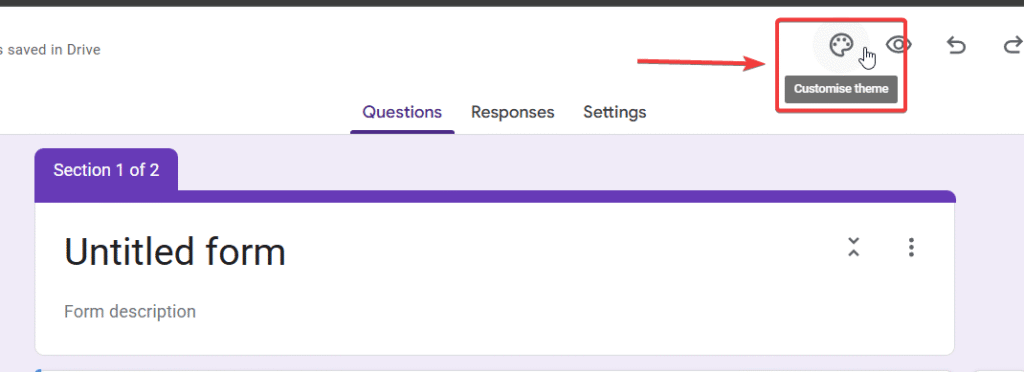
Step 4: Customizing the Design and Appearance
A generic form is functional, but a customized one looks professional. To change the look, click the palette icon in the top-right menu.
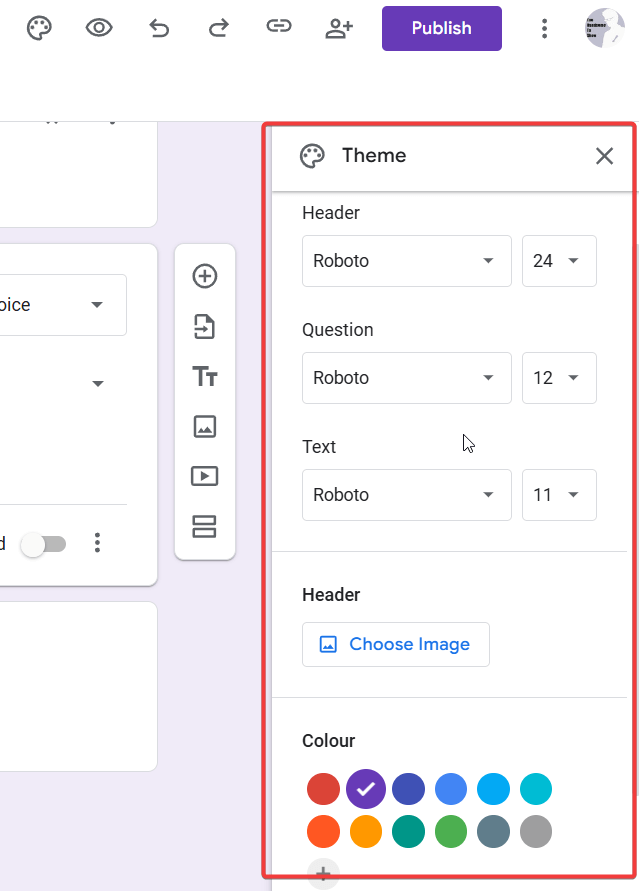
Here, you can:
- Add a custom header image: Upload your own image or choose from Google’s gallery.
- Change the theme color: Forms will automatically suggest colors based on your header image.
- Select a background color and font style: Fine-tune the look to match your brand or event.
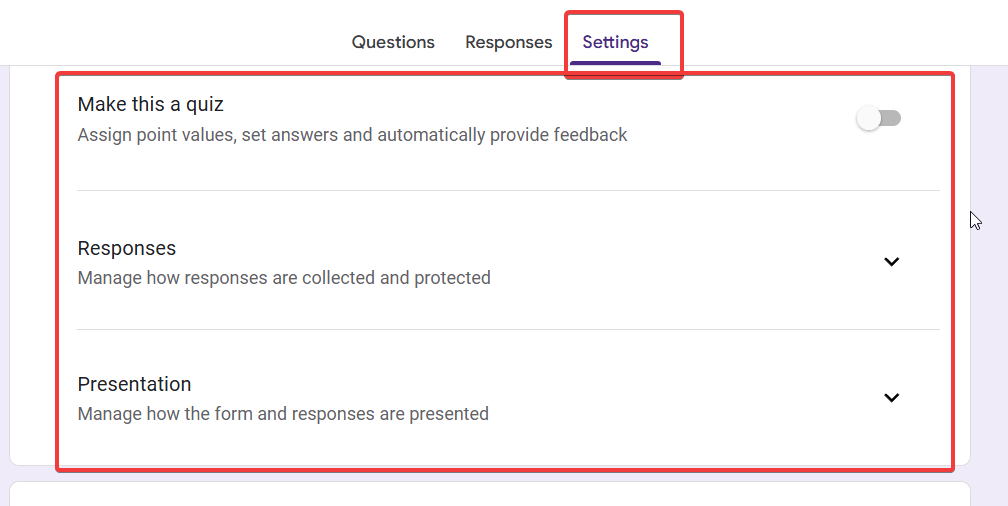
Step 5: Configuring Your Form’s Settings
Before you share your form, it’s crucial to check the settings, which are accessible via the Settings at the top.
- General Settings: Here you can choose to collect email addresses, limit to 1 response per person (requires sign-in), and decide if respondents can edit their submission after sending.
- Presentation Settings: This tab lets you show a progress bar, shuffle question order, and customize the confirmation message that users see after submitting.
- Quizzes: In this tab, you can turn your form into a quiz by toggling “Make this a quiz.” This unlocks options for assigning point values to questions and enabling auto-grading.
Step 6: Sharing and Distributing Your Google Form
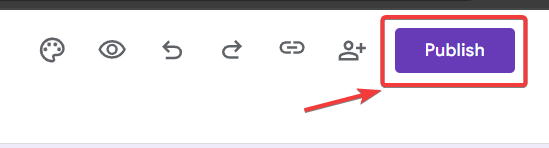
Once your form is ready, it’s time to share it. Click the big Publish button in the top-right corner. You have several options:
- Send via Email: Type in the email addresses of your recipients directly.
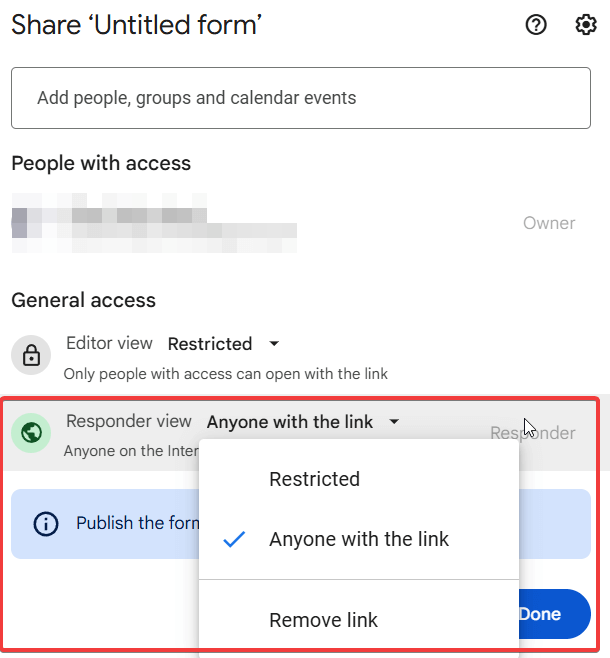
- Get a Shareable Link: This is the most common method. Click the link icon, copy the URL, and paste it wherever you want. You can even use the “Shorten URL” option for a cleaner link.
- Embed on a Website: Click the embed icon (</>) to get an HTML iframe code. Copy and paste this code into your website’s HTML to have the form appear directly on your page.

This is a critical part of learning how to create a google form, as a great form is useless if no one can find it.
Step 7: Viewing and Analyzing Your Responses
As soon as responses start coming in, you can view them in real-time.
Click the Responses tab at the top of your form editor. Google breaks down the data in three ways:

- Summary: See beautiful charts and graphs for all responses.
- Question: Review all the answers for a single question.
- Individual: Look at a single respondent’s complete submission.
For deeper analysis, click the green Google Sheets icon. This will create a spreadsheet with all your form data, neatly organized in rows and columns, which updates automatically with new submissions.
Advanced Tips and Tricks for Google Forms
Ready to go beyond the basics? Use these pro tips to supercharge your forms.
- Use Add-ons to Extend Functionality: The Google Workspace Marketplace offers powerful add-ons for Forms. You can find tools for sending custom emails, setting response limits, and more. Access them by clicking the three dots in the top-right and selecting “Add-ons.”
- Pre-fill Form Fields: You can create a special link that pre-fills some answers. This is perfect for when you already know some of the respondent’s information. Click the three dots and select “Get pre-filled link,” fill in the fields you want, and click “Get link.”
Frequently Asked Questions
Yes, Google Forms is 100% free with a standard Google account. It’s a part of the free suite of tools that includes Google Docs, Sheets, and Slides.
If you enable the “Collect email addresses” setting in the General tab, the form will automatically record the respondent’s email. Otherwise, responses are anonymous unless you specifically ask for a name.
Natively, Google Forms does not handle payments. However, you can use third-party add-ons from the Google Workspace Marketplace that integrate with payment gateways like PayPal or Stripe.
Simply go to the Responses tab in your form editor and toggle off the “Accepting responses” switch. You can also set a custom message for people who try to access the closed form.
Conclusion
And there you have it! You now have a complete roadmap for how to create a google form, from the initial setup to analyzing the data you’ve collected. By following these steps, you can confidently build effective surveys, quizzes, and registration forms for any need. The key is to start simple, explore the settings, and always keep your audience in mind.
Now it’s your turn. Go create your first form! Share this guide if you found it helpful, and leave a comment below with any questions.
IT Security / Cyber Security Experts.
Technology Enthusiasm.
Love to read, test and write about IT, Cyber Security and Technology.
The Geek coming from the things I love and how I look.