
Are you overwhelmed by the clutter of promotional emails and wondering, “Can I delete all promotions in Gmail?”
You’re not alone. Many users seek efficient ways to clear their Promotions tab and regain control over their inboxes.
In this comprehensive guide, we’ll walk you through the steps to delete all promotions in Gmail and offer tips to keep your inbox organized.
Understanding Gmail’s Promotions Tab
Gmail’s Promotions tab is designed to filter marketing emails, deals, and promotional content, keeping them separate from your primary correspondence.
While this feature helps prioritize important emails, the Promotions tab can quickly accumulate thousands of messages, consuming valuable storage space and making email management challenging.
Why Delete All Promotions Emails?
- Free Up Storage Space: Gmail offers 15 GB of free storage shared across Gmail, Google Drive, and Google Photos. Deleting unnecessary promotional emails can free up space for more important data.
- Improve Email Performance: A cluttered inbox can slow down your email client, leading to delays in sending or receiving messages.
- Enhance Productivity: A clean inbox helps you focus on essential emails without distractions from unsolicited promotions.
How Can I Delete All Promotions in Gmail?
Deleting all promotions in Gmail is a straightforward process. Below, we’ll explore various methods to help you efficiently clear your Promotions tab.
Method 1: Using Gmail Web Interface
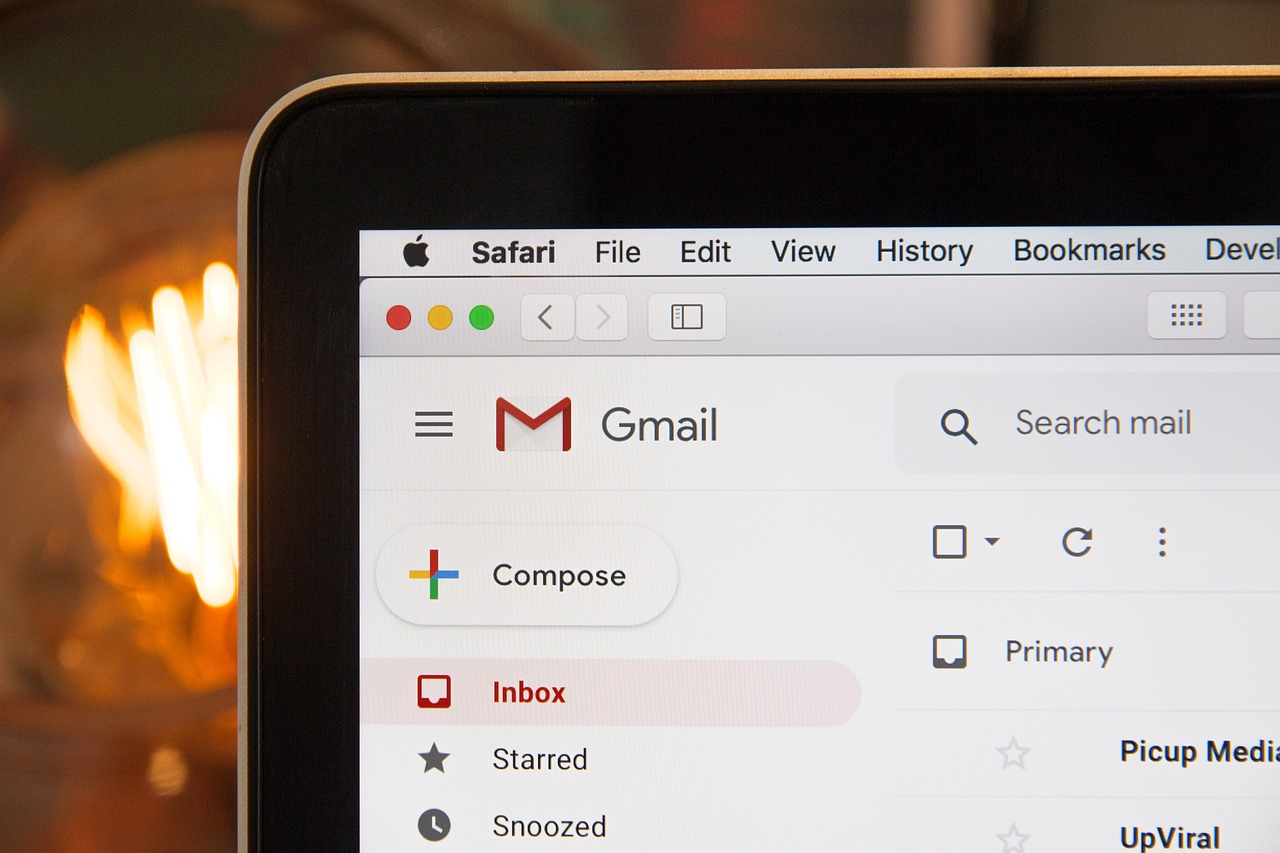
Step 1: Access Your Gmail Account
- Open your preferred web browser.
- Navigate to Gmail.com and log in with your credentials.
Step 2: Navigate to the Promotions Tab
- On the main inbox page, locate the Promotions tab at the top.
- Click on the Promotions tab to view all promotional emails.
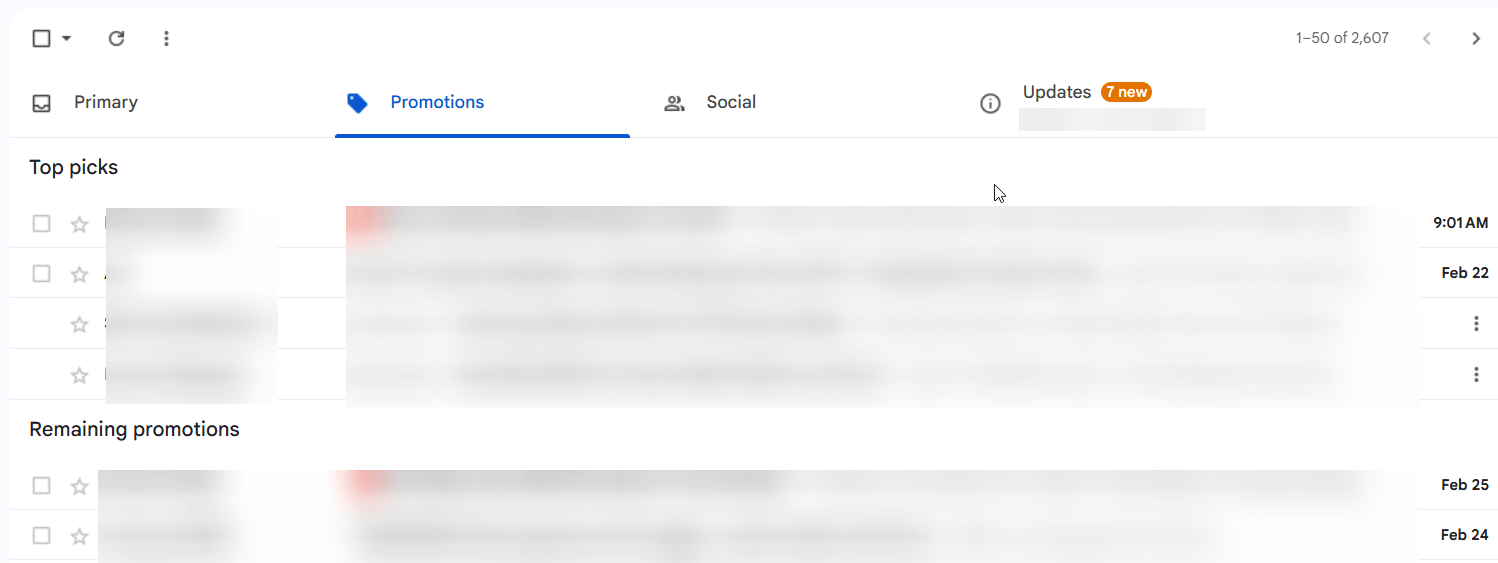
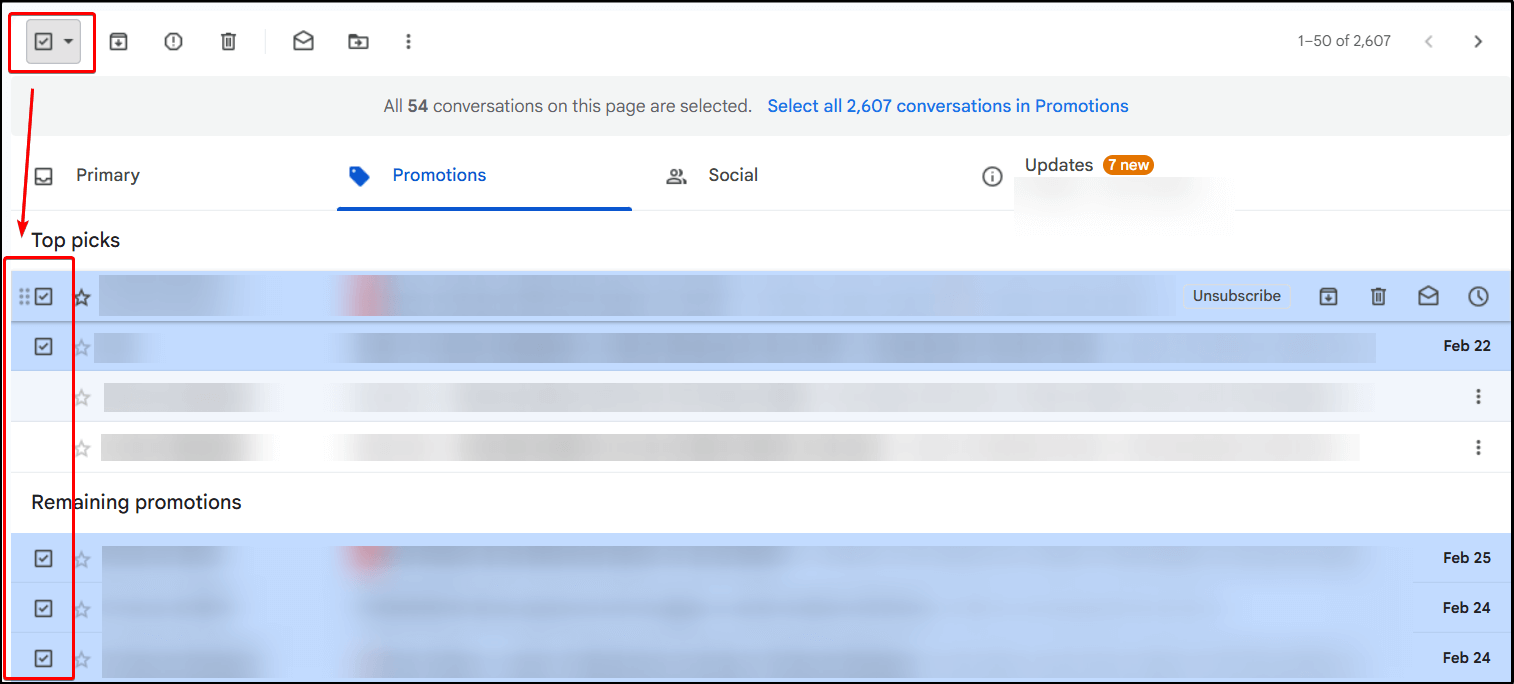
Step 3: Select All Promotions Emails
- Click the checkbox at the top left corner above your emails. This action selects all emails on the current page (usually 50 emails).
- A message appears: “All 50 conversations on this page are selected.“
- Click on the link that says “Select all X conversations in Promotions” (X represents the total number of promotional emails). This action selects every promotional email in your account.
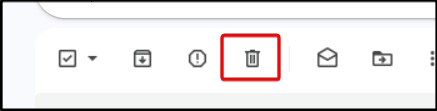
Step 4: Delete the Selected Emails
- Click on the Trash icon (🗑️) to delete all selected emails.
- A confirmation pop-up will appear. Click OK to confirm the deletion.
Step 5: Empty the Trash Folder (Optional)
- Deleted emails move to the Trash and remain there for 30 days.
- To permanently delete them and free up storage immediately:
- Click on More in the left sidebar.
- Select Trash.
- Click on Empty Trash now.
- Confirm by clicking OK.
Method 2: Using Gmail Search Function
Step 1: Use Search Operators
- In the Gmail search bar at the top, type
category:promotionsand press Enter. - This action filters and displays all emails categorized under Promotions.
Step 2: Select and Delete Emails
- Follow Steps 3 to 5 from Method 1 to select all filtered emails and delete them.
Method 3: Deleting Promotions on Gmail Mobile App
While the Gmail mobile app doesn’t support selecting all emails at once, you can still delete promotions efficiently.
Step 1: Open the Gmail App
- Launch the Gmail app on your Android or iOS device.
- Ensure you’re logged into your account.
Step 2: Navigate to Promotions
- Tap the Menu icon (☰) in the top left corner.
- Select Promotions from the list.
Step 3: Manually Select Emails
- Press and hold the first email to enable selection mode.
- Tap on additional emails to select them (you can swipe down to select multiple emails quickly).
Step 4: Delete Selected Emails
- Tap the Trash icon to delete the selected emails.
- Repeat the process until you’ve deleted all unwanted promotions.
Method 4: Automate Deletion with Filters
Step 1: Create a Filter
- Click on the Settings gear icon in the top right corner.
- Select See all settings.
- Go to the Filters and Blocked Addresses tab.
- Click on Create a new filter.
Step 2: Set Filter Criteria
- In the Has the words field, type
category:promotions. - Click on Create filter.
Step 3: Choose Filter Actions
- Check the box next to Delete it.
- Optionally, check Also apply filter to matching conversations to delete existing promotions.
- Click on Create filter to finalize.
Note:
- This filter will automatically delete incoming promotional emails.
Tips to Manage Promotions Emails Effectively
Regularly Unsubscribe from Unwanted Emails
- Open a promotional email.
- Scroll to the bottom and click on the Unsubscribe link.
- Confirm the action if prompted.
- Alternatively, Gmail may display an Unsubscribe button next to the sender’s name at the top.
Use Gmail’s Block Feature
- Open an email from the sender you wish to block.
- Click on the three vertical dots (⋮) in the top right corner of the email.
- Select Block “[Sender]”.
- Confirm the action.
Adjust Inbox Categories
- Go to Settings > Inbox.
- Under Categories, uncheck Promotions.
- Click Save Changes.
- This action moves all future promotional emails to your Primary inbox, where you can manage them directly.
Utilize Third-Party Email Management Tools
- Tools like Clean Email or Unroll.me can help automate inbox cleaning.
- Caution: Always review privacy policies before granting access to third-party applications.
How Can I Remove the Promotions Tab in Gmail?
If you prefer all your emails in one place or find the Gmail Promotions tab unnecessary, you can remove it.
Here’s how to add or remove the Promotions tab:
On Desktop:
- Open Gmail in your web browser.
- Click on the Settings gear icon in the top-right corner.
- Select See all settings from the dropdown.
- Navigate to the Inbox tab.
- Under Categories, uncheck Promotions.
- Click Save Changes at the bottom.
On Mobile (iPhone/Android):
- Open the Gmail app on your smartphone.
- Tap the Menu icon (☰) in the top-left corner.
- Scroll down and select Settings.
- Choose your email account.
- Tap Inbox categories.
- Uncheck Promotions.
By removing the Promotions tab, all promotional emails will appear in your Primary inbox, helping you view your categories as visible or invisible according to your preference.
How Do I Move Emails from the Promotions Tab to the Primary Inbox?
If important emails are landing in the Promotions tab, you can move them to the Primary inbox:
On Desktop:
- Go to your Promotions tab.
- Find the email you want to move.
- Drag and drop the email to the Primary tab at the top left.
- Gmail will ask, “Do this for future messages from [sender]?“
- Click Yes to ensure future emails from that sender arrive in your Primary inbox.
On Mobile:
- Open the email in the Promotions tab.
- Tap the three-dot menu icon next to the sender’s name.
- Select Move to and choose Primary.
This helps prevent more promotions from landing in the wrong place and allows you to receive emails from important senders directly in your main inbox.
Conclusion
Managing your Gmail inbox doesn’t have to be overwhelming.
By following the steps in this guide, you can confidently answer, “Can I delete all promotions in Gmail?” and take decisive action to declutter your inbox.
Regular maintenance and smart email practices will keep your communications streamlined and efficient.
Read also: Gmail – How to block emails
Frequently Asked Questions
Q: Can I Recover Promotions Emails After Deleting Them?
Yes, within 30 days:
- Navigate to the Trash folder.
- Select the emails you want to recover.
- Click on the Move to icon and choose the desired folder.
Q: Will Deleting Promotions Emails Affect Important Emails?
No. The Promotions tab is separate from your Primary inbox. Deleting promotions will not affect your important emails unless they were incorrectly categorized.
Q: How Often Should I Clean My Promotions Tab?
- Monthly Maintenance: Regularly deleting promotions can prevent clutter.
- Weekly Checks: If you receive numerous promotional emails, consider weekly clean-ups.
Q: Is There a Limit to How Many Emails I Can Delete at Once?
- On the web interface, you can delete all promotions at once using the Select all conversations feature.
- The process might take time if you have a large number of emails.
Q: What If Some Important Emails Are in Promotions?
- Before deleting, skim through the Promotions tab to ensure no important emails are miscategorized.
- Move any important emails to the Primary inbox:
- Select the email.
- Click on the Move to icon.
- Choose Primary.
IT Security / Cyber Security Experts.
Technology Enthusiasm.
Love to read, test and write about IT, Cyber Security and Technology.
The Geek coming from the things I love and how I look.