
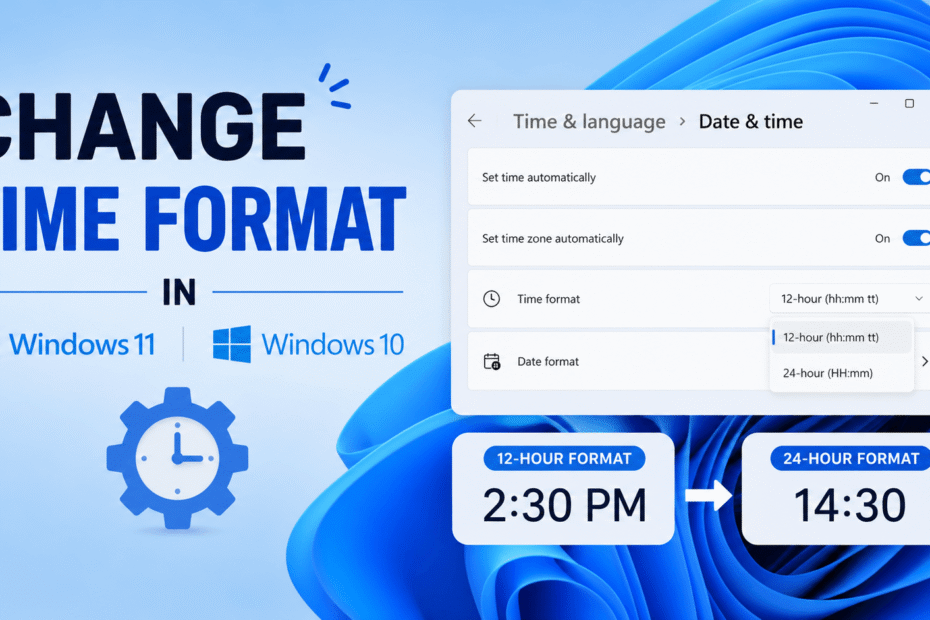
If you need to change time format in windows, you are likely tired of mentally converting a 24-hour clock or frustrated by missing AM/PM indicators.
Fortunately, switching between military time and standard 12-hour displays is incredibly easy. Let’s dive straight into the quickest solutions.
How to Change Time Format in Windows 11 & 10
If you want to quickly switch your Windows 11 clock:
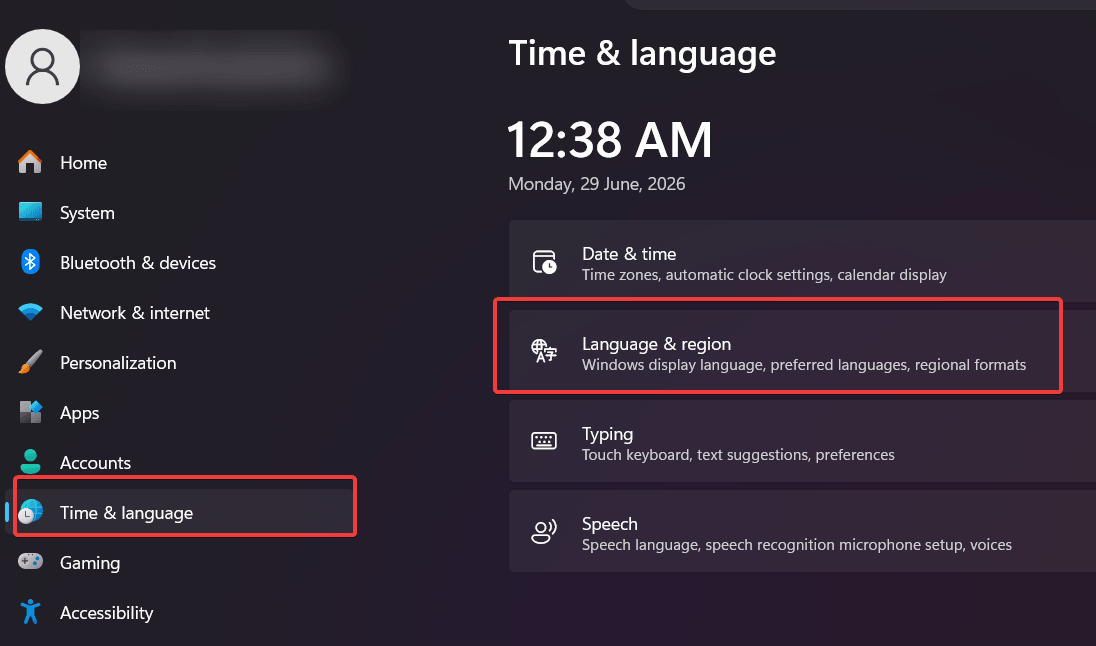
- Press Windows + I to open the Settings app.
- Navigate to Time & language > Language & region.
- Expand Regional format and click Change formats.
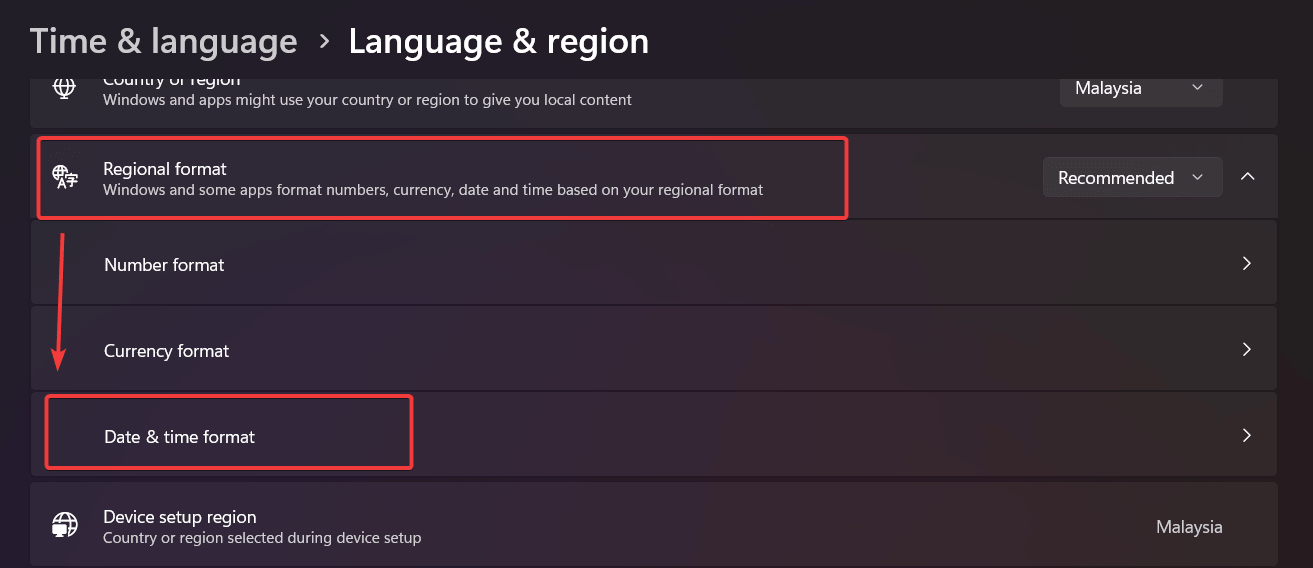
- Change the Short time dropdown to h:mm tt (12-hour AM/PM) or HH:mm (24-hour military time).
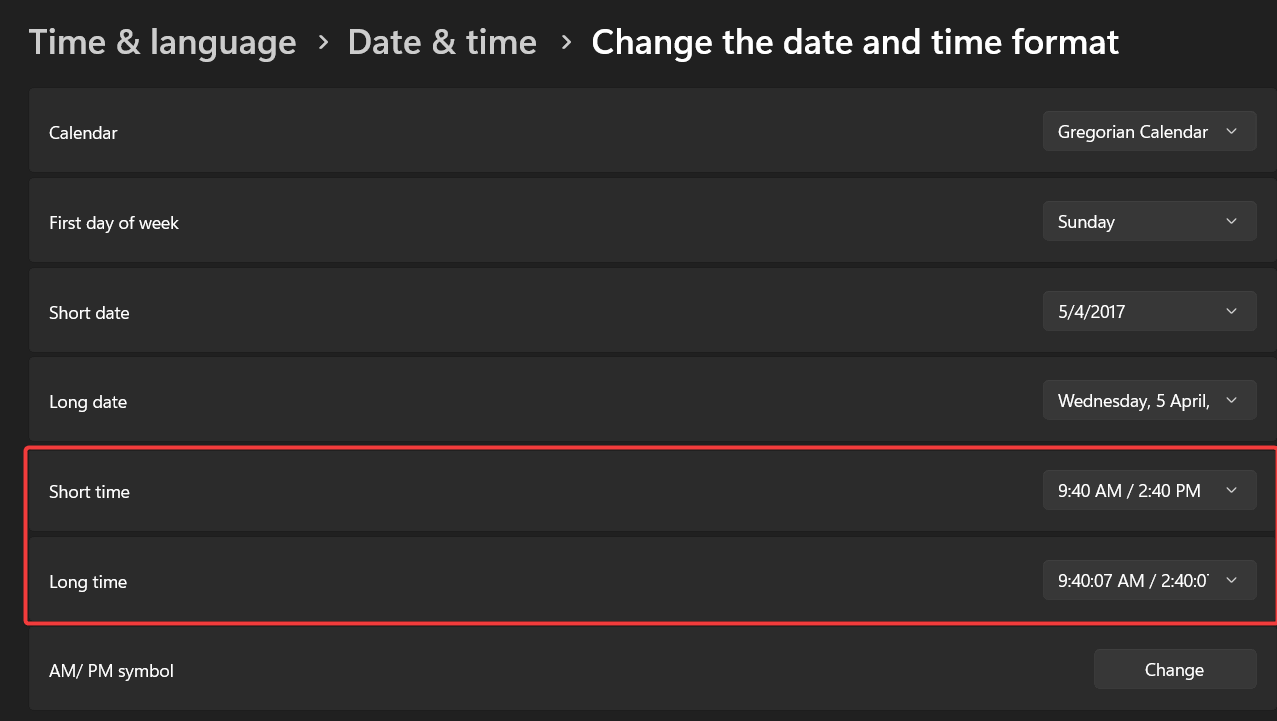
Note: The “Short time” setting controls the taskbar clock, while the “Long time” setting controls the clock on your lock screen.
How to Change Time Format in Windows 10
If you are still running the older OS, the steps to change time format in windows are slightly different but equally straightforward. The UI paths vary, but the underlying system uses the exact same logic.
Step-by-Step Guide
- Click the Start Menu and select the gear icon to open Settings (or press Windows + I).
- Click on the Time & Language category.
- On the left navigation pane, select Region.
- Scroll down to the bottom of the page and click the Change data formats link.
- Locate the Short time dropdown menu.
- Choose h:mm tt for a 12-hour format or HH:mm for a 24-hour format. Changes will take effect instantly on your system tray.
How to Change Date Formats (DD/MM/YYYY vs. MM/DD/YYYY)
Furthermore, you might want to adjust how your dates are displayed. Because the operating system natively groups date and time settings together, you can modify your calendar layout in the exact same interface.
Within the Change formats menu (accessible via the steps above), locate the Short date dropdown.
- Choose M/d/yyyy for the standard US layout (Month/Day/Year).
- Choose d/M/yyyy for the standard European/UK layout (Day/Month/Year).
How Changing System Time Affects Microsoft Excel
Interestingly, modifying your desktop clock does much more than just alter your taskbar visibility. When you adjust your regional settings, it directly impacts how data is processed and presented in enterprise software.
Microsoft Excel and Power BI natively pull their default date and time formatting directly from your Windows system settings
Therefore, if you are struggling with spreadsheets stubbornly displaying a 24-hour military clock when you prefer a 12-hour layout, adjusting your Windows regional format using the steps above will instantly resolve your software formatting issues globally.
Advanced Method 1: Using the Control Panel
Occasionally, modern UI settings glitch or become unresponsive. If you find your system settings are greyed out, you can bypass them by using the legacy Control Panel. This method is highly recommended for IT administrators.
- Press the Windows Key, type Control Panel, and hit Enter.
- Ensure your “View by” setting in the top right is set to Category, then click Clock and Region.
- Click on Region. A new dialog box will pop up.
- On the Formats tab, click the Additional settings… button at the bottom.
- Navigate to the Time tab.
- Here, you can manually type your desired codes into the Short time and Long time fields. Click Apply and then OK to save your preferences.
For more deep-level configurations, such as managing these settings across a corporate network, you can reference Microsoft’s official documentation on regional formatting.
Advanced Method 2: Using the Registry Editor (Regedit)
Alternatively, if you are a power user attempting to manually change time format in windows via the system backend, you can utilize the Registry Editor. Modifying the registry applies the code forcefully.
- Press Windows + R to open the Run dialog, type regedit, and press Enter.
- Navigate exactly to this path: HKEY_CURRENT_USER\Control Panel\International.
- In the right-hand pane, scroll down and double-click the string named sTimeFormat.
- Change the Value data to your desired semantic code (e.g., h:mm tt for 12-hour or HH:mm for 24-hour).
- Click OK, close the Registry Editor, and restart your computer to apply the override.
Advanced Method 3: Automating via PowerShell
Furthermore, for IT administrators managing dozens of corporate workstations, navigating through menus manually is highly inefficient. Instead, you can utilize PowerShell to rapidly deploy formatting configurations across multiple machines simultaneously.
- Right-click the Start Menu and select Windows Terminal (Admin) or Windows PowerShell (Admin).
- To enforce a 24-hour military clock, type the following command and press Enter:
| Set-ItemProperty -Path “HKCU:\Control Panel\International” -Name sTimeFormat -Value “HH:mm” |
- To revert back to a standard 12-hour clock, execute:
| Set-ItemProperty -Path “HKCU:\Control Panel\International” -Name sTimeFormat -Value “h:mm tt” |
- Finally, restart the Windows Explorer process or log out of your profile to apply the changes seamlessly.
Applying Time Format Changes to the Lock Screen
Sometimes, you might notice that while your taskbar clock is correct, your Lock Screen or Welcome Screen still displays the old format. To seamlessly synchronize these displays, you must push your user settings to the system accounts.
- Open the Region dialog box via the Control Panel (as shown in Advanced Method 1).
- Click on the Administrative tab at the top.
- Click the Copy settings… button.
- At the bottom of the new window, check the box labeled Welcome screen and system accounts.
- Click OK to finalize the synchronization.
Understanding Windows Time Codes (Reference Table)
Have you ever wondered what the letters in the settings dropdown actually mean? Windows relies on specific syntax codes to dictate how data is rendered. Here is a quick cheat sheet:
| Code | Output/Meaning | Example |
|---|---|---|
| h | 12-hour format (no leading zero for single digits) | 9:05 |
| hh | 12-hour format (with leading zero) | 09:05 |
| H | 24-hour format (no leading zero) | 9:05 |
| HH | 24-hour format (with leading zero) | 09:05 |
| tt | AM / PM indicator | 9:05 AM |
How to Customize the AM/PM Symbols
Additionally, did you know you can replace the traditional AM and PM abbreviations with custom words? This is a fun, lesser-known trick to personalize your desktop interface.
- Open the Control Panel and navigate to Region > Additional settings… > Time tab.
- Locate the text boxes labeled AM symbol and PM symbol.
- Delete the default text and type your preferred word (for example, “Morning” or “Night”).
- Click Apply. Your taskbar will immediately update to display your customized text next to the clock.
Frequently Asked Questions (Troubleshooting)
Why is my Windows time format greyed out?
If your settings are locked and greyed out, it is usually due to organizational Group Policy settings. If you are using a company or school computer, the IT administrator likely restricted access to regional modifications.
How do I show seconds on the Windows taskbar clock?
To add seconds to your clock in Windows 11, right-click an empty space on the taskbar and select Taskbar settings. Expand the Taskbar behaviors section, scroll down, and check the box that says Show seconds in system tray clock. Be aware that this uses slightly more battery power on laptops.
Do I need to restart my computer after changing the time format?
No, a system restart is not required. As soon as you select a new format from the dropdown menu, the taskbar clock updates instantly.
Why is my Windows clock showing the wrong time entirely?
If the time formatting is correct but the actual time is wrong, your computer might be out of sync with the global internet time servers. Go to Settings > Time & language > Date & time. Under the “Additional settings” section, click the Sync now button to recalibrate your clock automatically. Ensure your Time zone dropdown is also set to the correct location.
Conclusion
Now that you know how to change time format in windows, you can fully customize your taskbar to match your workflow and preferences. Whether you prefer the precision of military time or the familiarity of a 12-hour AM/PM clock, navigating the Settings app or Control Panel only takes a few seconds.
If this step-by-step guide helped you solve your display issues, please share this post with colleagues or drop a comment below letting us know which format you prefer to use!
IT Security / Cyber Security Experts.
Technology Enthusiasm.
Love to read, test and write about IT, Cyber Security and Technology.
The Geek coming from the things I love and how I look.