
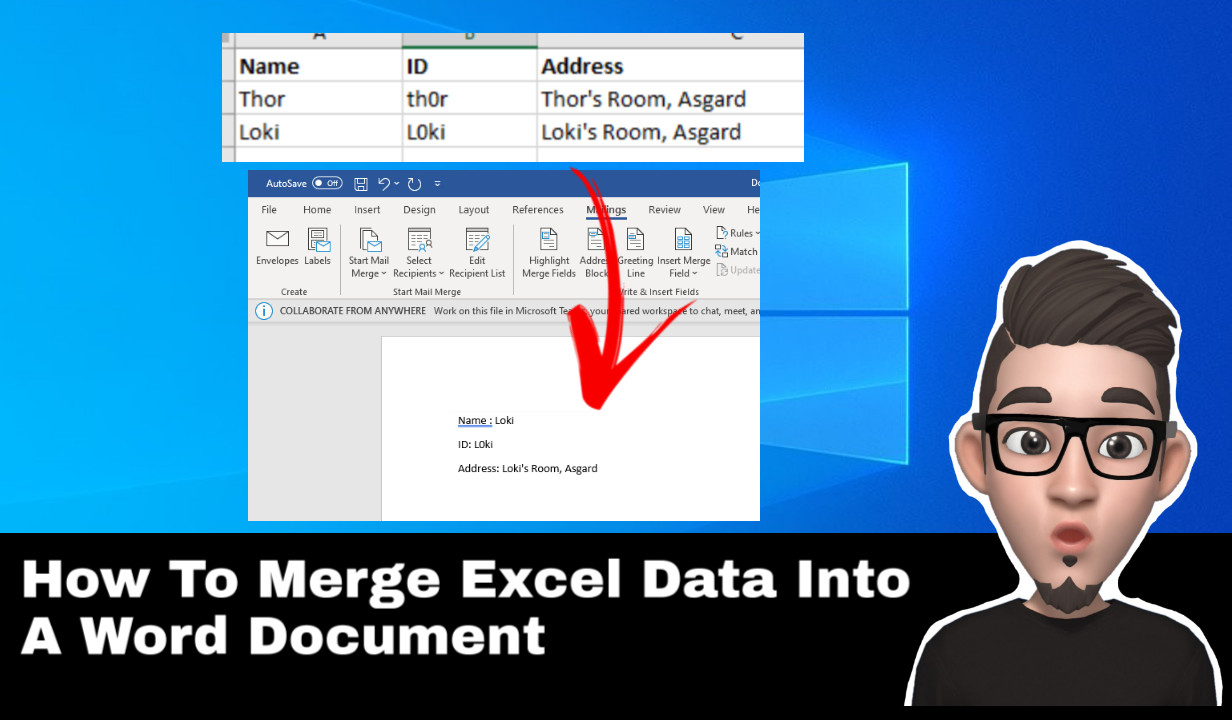
In this article, I will show you in details on How To Merge Excel Data Into A Word Document Using Mail Merge. It’s really useful when it comes to print or send email to multiple recipients, with specific user details each.
Before proceed, you must have a Word document template, which act as static content such as form or email. Then, an excel file consist of data that you would like to extract from.
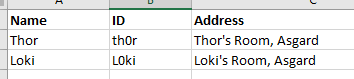
As example, assume that you want to extract people’s info from excel into word document, which consists of Name, ID and Address info.
How To Merge Excel Data Into A Word Document
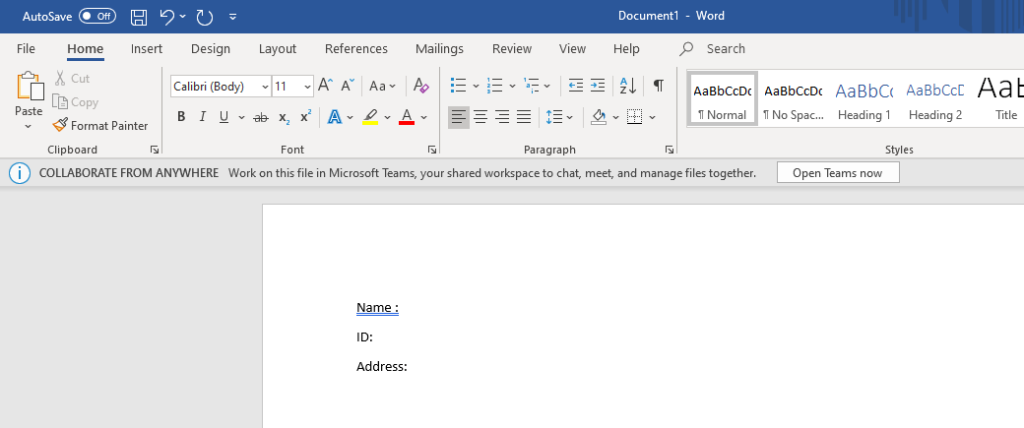
1.Open the Word document that you would like to use as template.
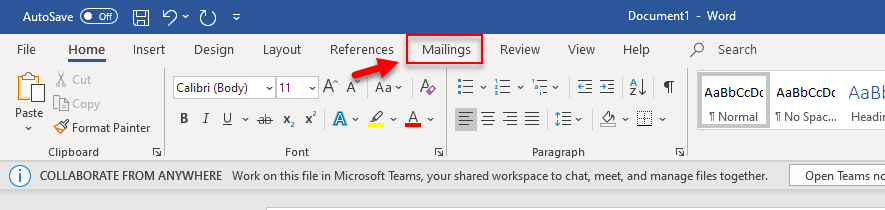
2. On “Mailings” tab, click to view tge mailings menu.
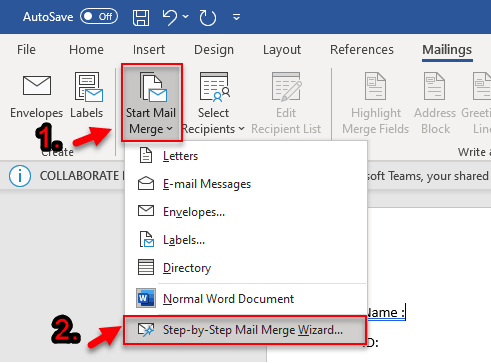
3. On Mailings menu, click “Start Mail Merge” to open drop down menu. Then on the drop down, click “Step-by-Step Mail Merge Wizard”.
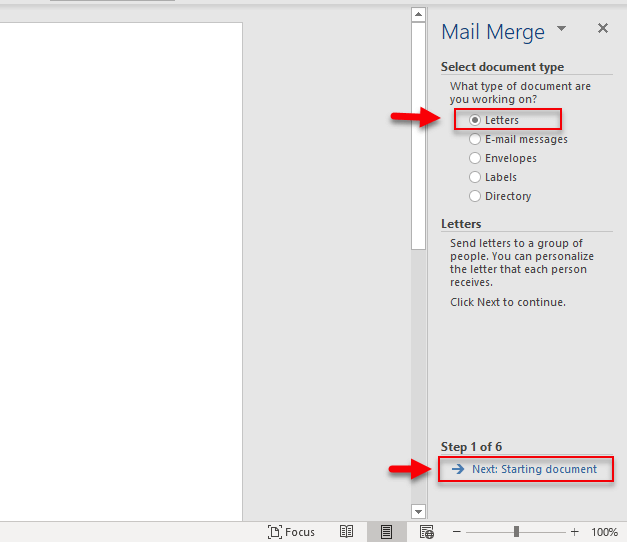
4. Choose “Letters” and click “Next: Starting document”
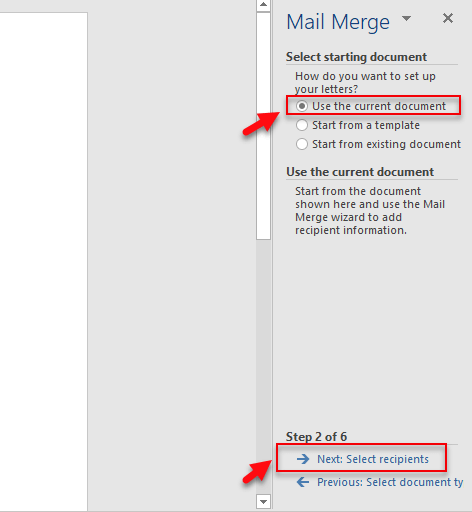
5. Choose “Use the current document”. Then click “Next: Select recipients”
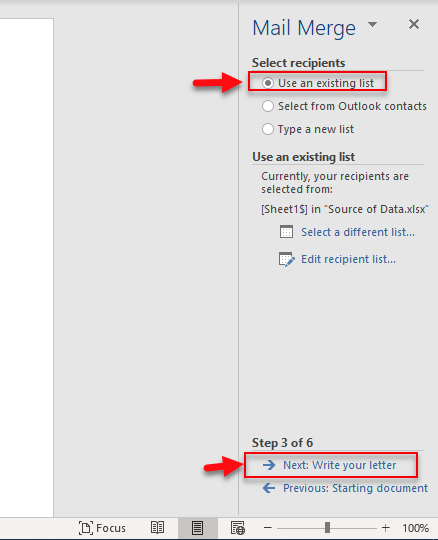
6. Choose “Use an existing list”. Then click “Next: Write your letter”.

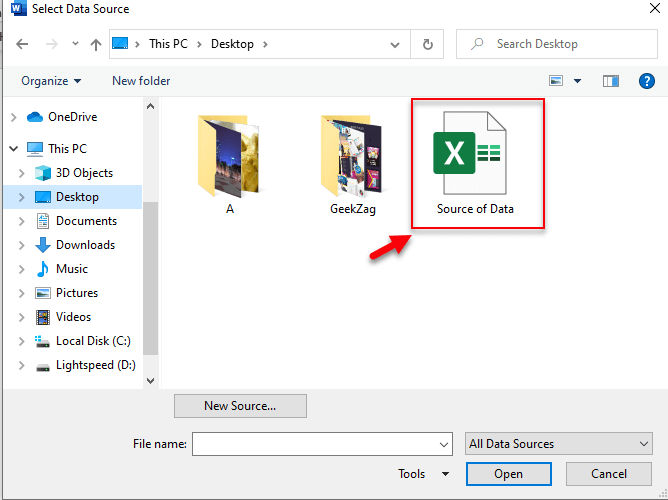
7. Choose the excel file that contain the data. In this example let say “Source of Data”.
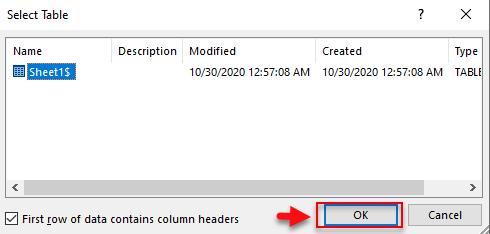
8. Ensure it shows the right sheet. Then click “OK”.
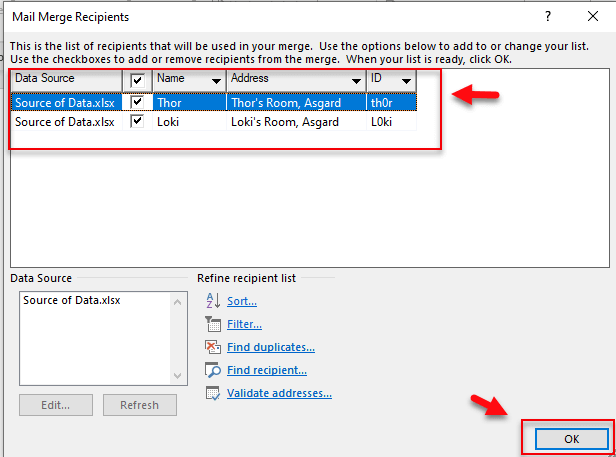
9. Ensure it shows the correct list. Then click “OK”.
10. Under “Select recipients”, choose “Use an existing list”. Then click “Next: Write your letter”.
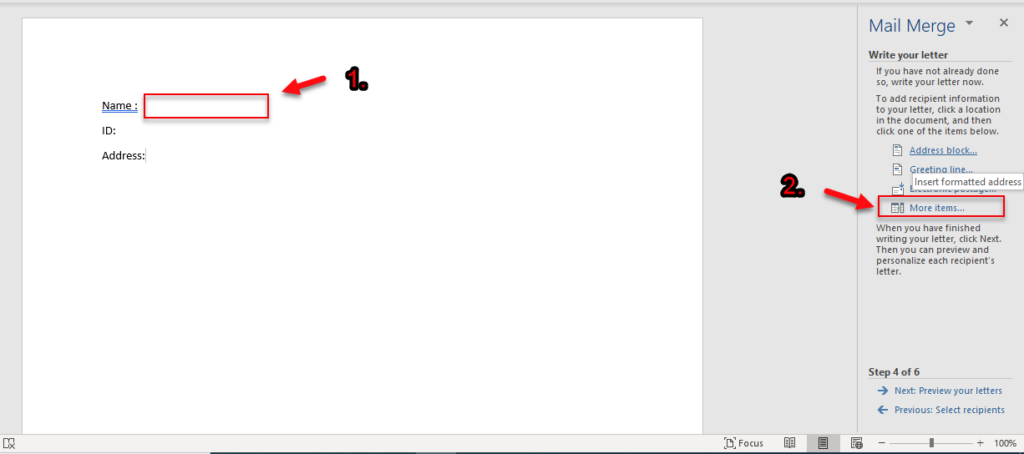
11. Now move your cursor and click where your data to be filled in. Let’s say, the first is Name. Click once, next to “Name: “. Then click “More items”.
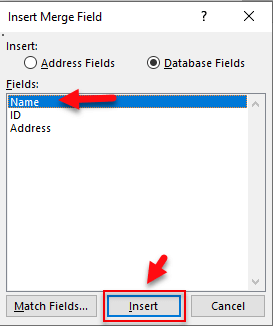
12. Choose “Name”. Then click “Insert”. Then click “Cancel”
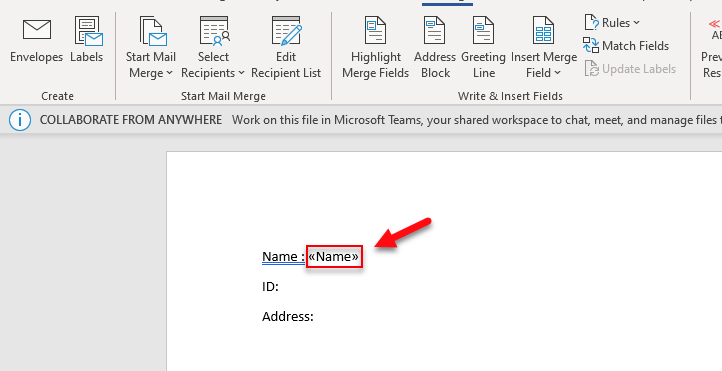
13. You will see variable “<<Name>>” is written next to “Name: “.
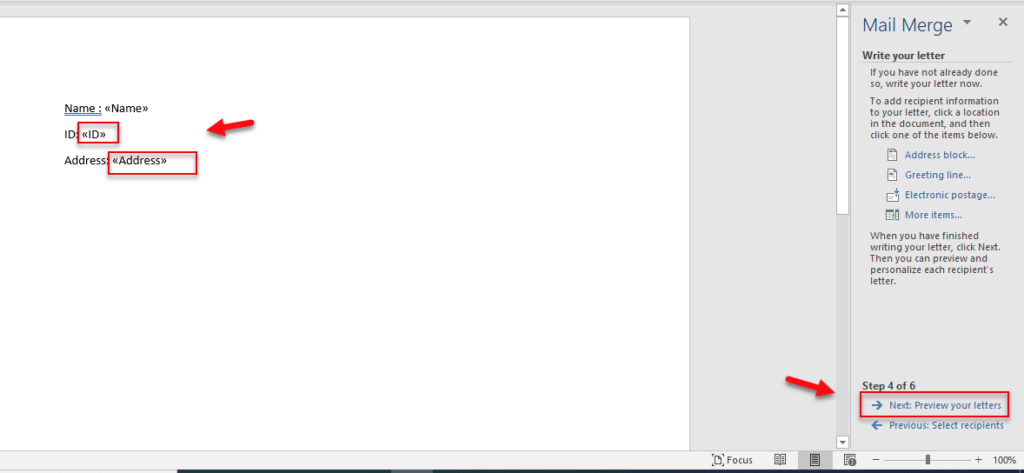
14. Repeat steps from step 11 – 13 for ID and Address. Then click “Next: Preview your letter”
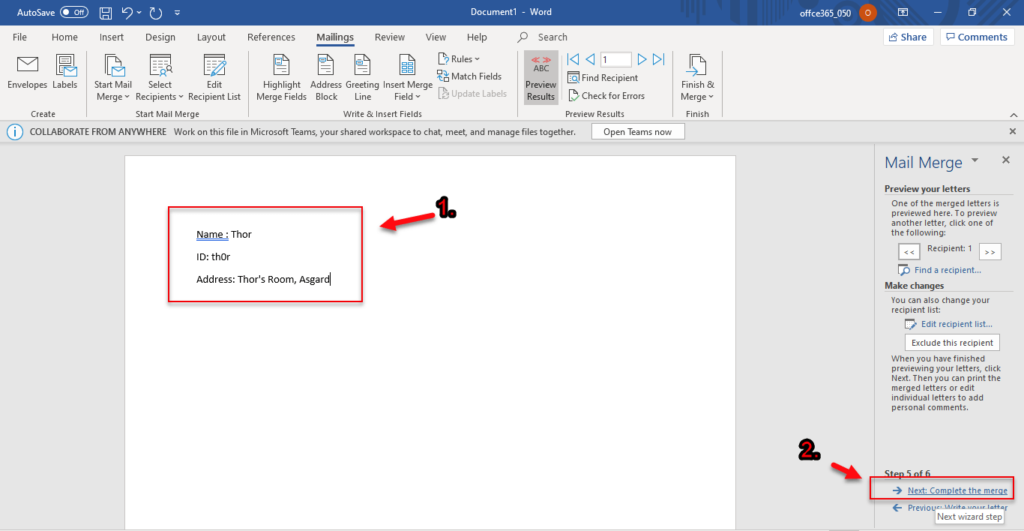
15. You will see, variable “<<Name>>”, “<<ID>>”, and “<<Address>>” are replaced with the info from the excel data. Verify if the data placement is correct. Then click “Next: Complete the merge”.
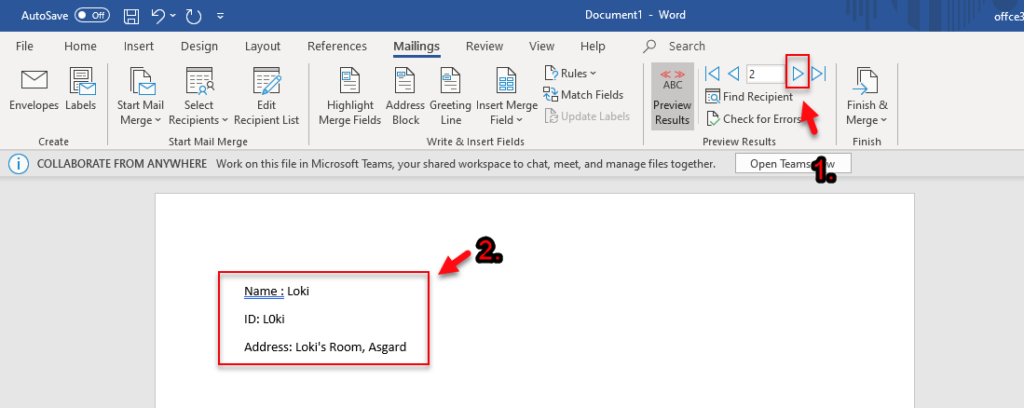
16. Click next button. You will see the word will show the next person’s info.
That’s all. It’s very easy right?
It’s very useful, when you need to print or send email to multiple person using same template, with specific user details each.
You may interest to read on how to create eBook in 3 steps, where you can extract data from word document and turns it into stunning eBook.
Thanks for reading. I hope you find it helpful.