
If you want to setup a website on your Windows computer, then Xampp can help you to achieve it. In this article, I will show you how to install Xampp on Windows Environment.
How To Install XAMPP On Windows Environment
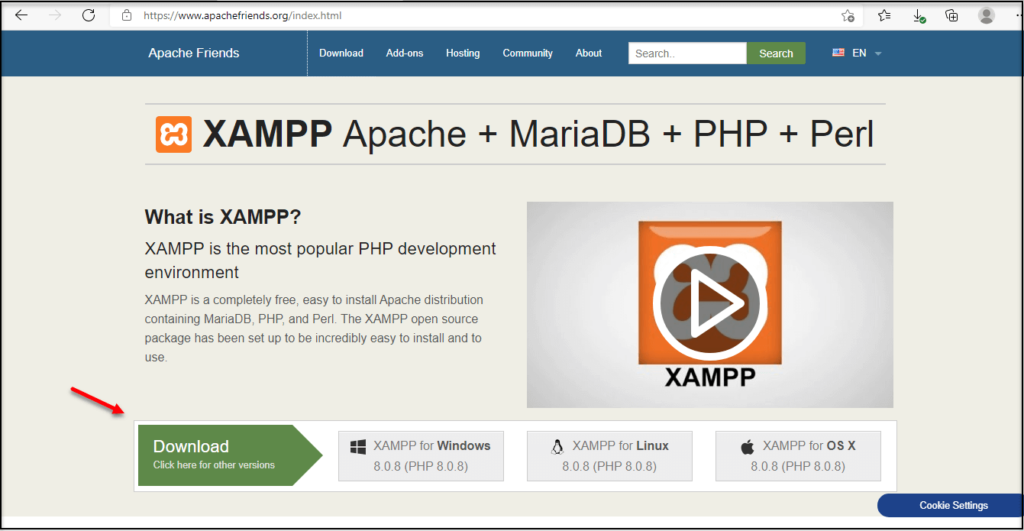
1. Go to https://www.apachefriends.org/, then click on XAMPP for Windows.
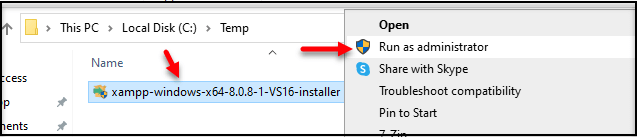
2. Once downloaded, locate the installer. Then, right-click on the installer, and click Run as administrator.
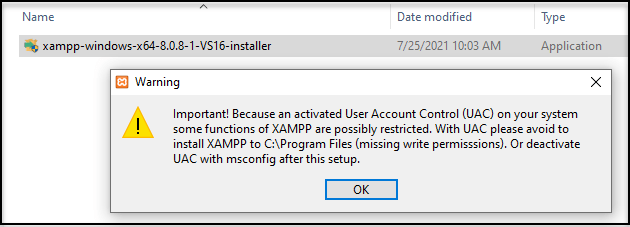
3. You may receive notification, click Ok.
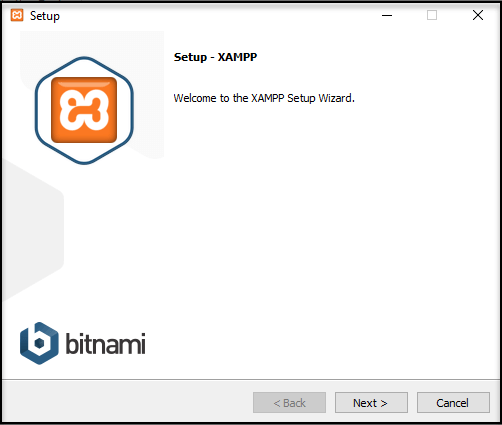
4. Click Next.
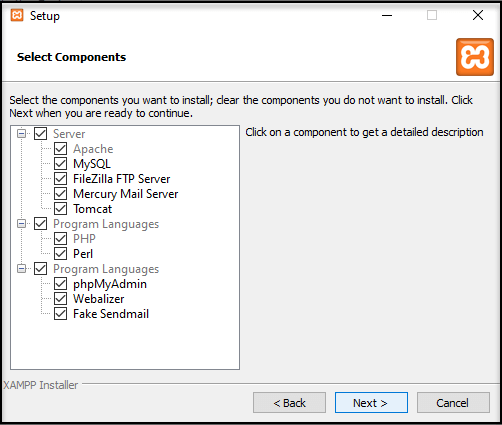
5. On Select Components, choose all and click Next.
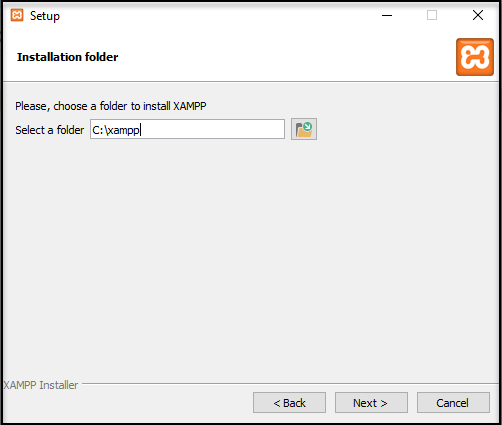
6. On selection of installation folder, please select a folder where you like to put all the Xampp folder. In this example, I just leave it at default, which is “C:\xampp“.
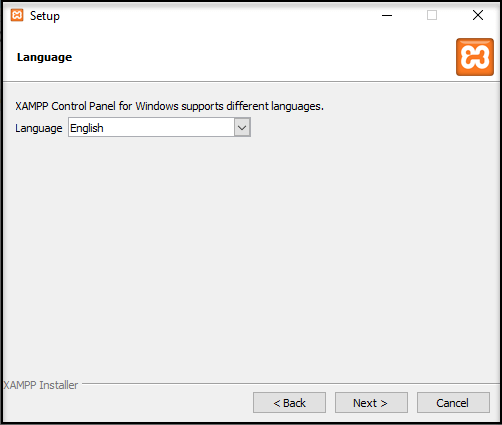
7. Choose your desired language. Click Next.
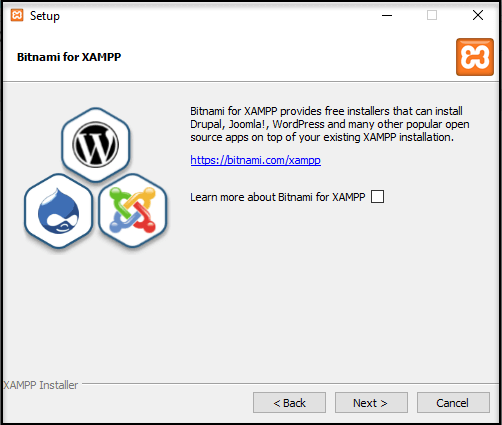
8. Click Next.
9. Click Next.
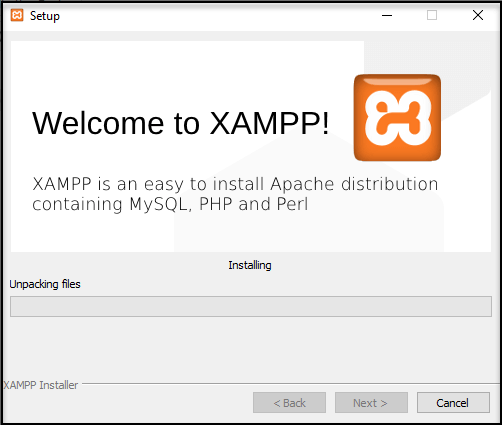
10. Xampp will start installing. Just wait as it will takes some times.
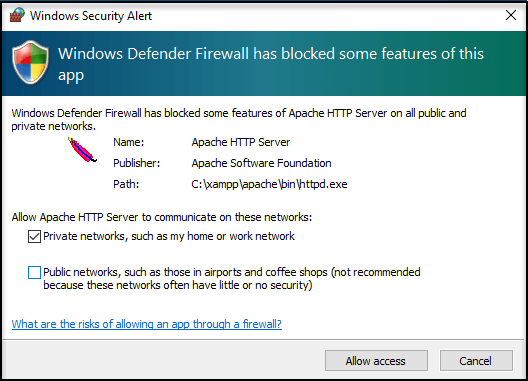
11. If there is notification saying Windows Defender Firewall is blocking Apache, please choose desire network to allow, depends on your requirement. Then click Allow access.
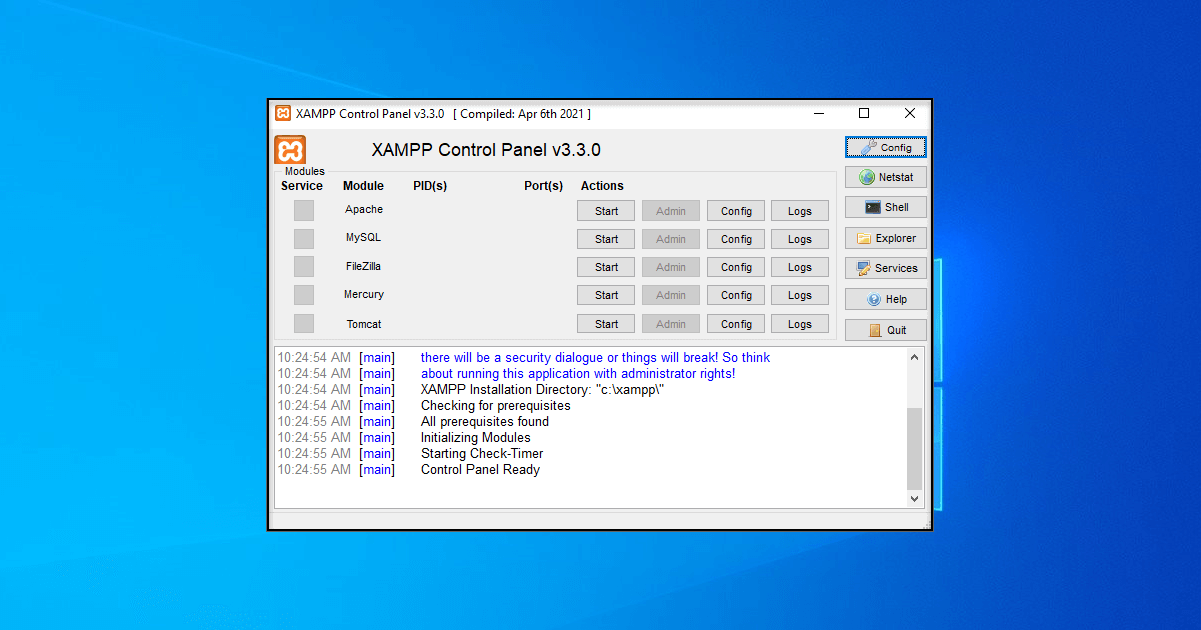
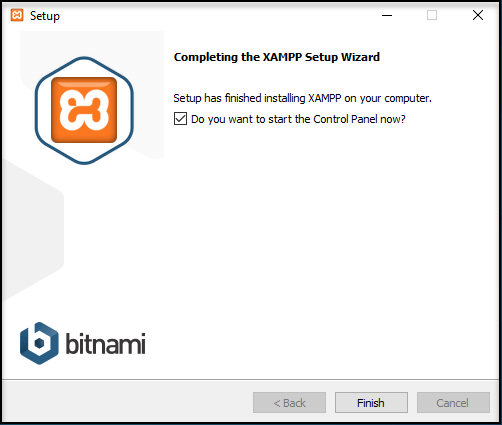
12. Once installation has been completed, tick Do you want to start the Control Panel now and click Finish.
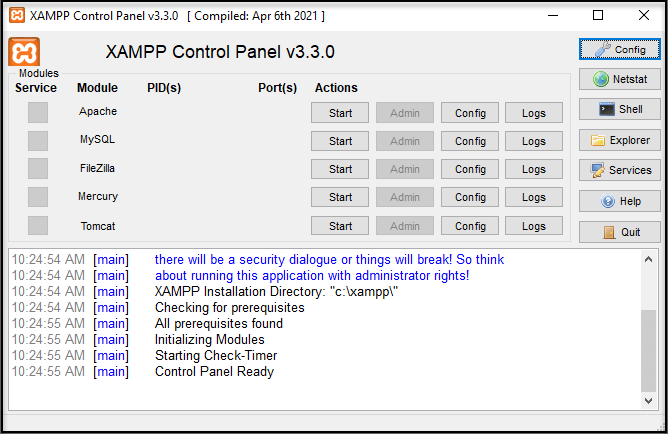
Now you are done! You can proceed to configure your Website, FTP etc.
Read also: NordVPN Review – Protect And Secure Your Online Privacy!
Thanks for reading this article. I hope you find it helpful.
IT Security / Cyber Security Experts.
Technology Enthusiasm.
Love to read, test and write about IT, Cyber Security and Technology.
The Geek coming from the things I love and how I look.